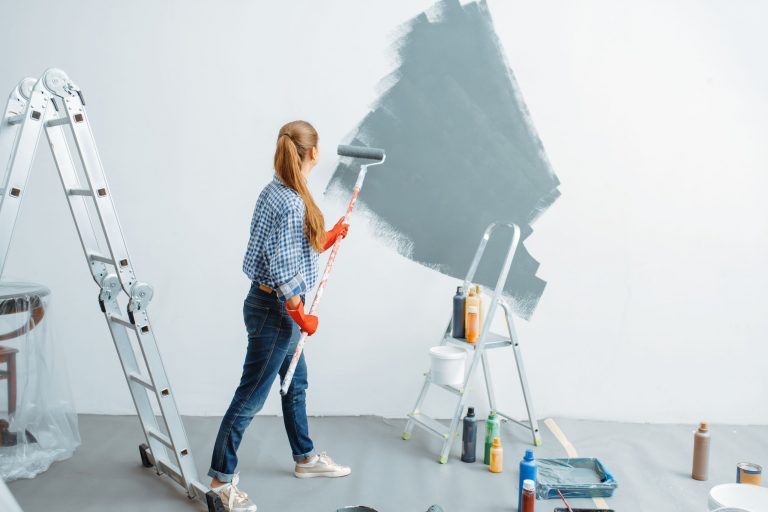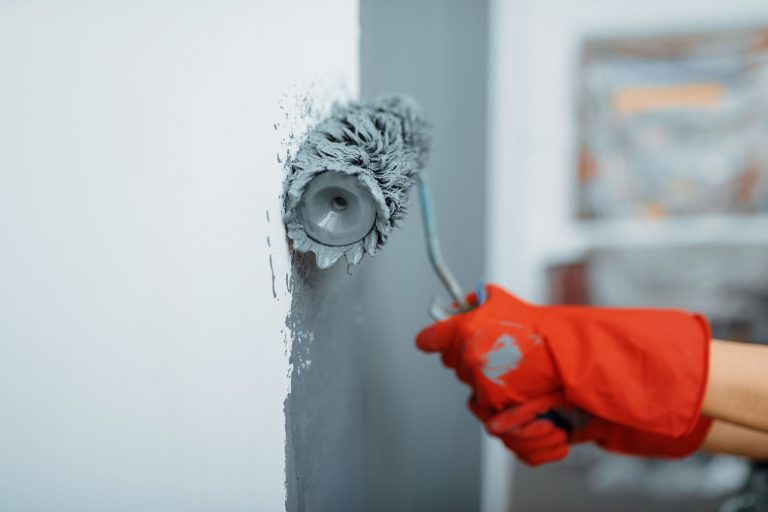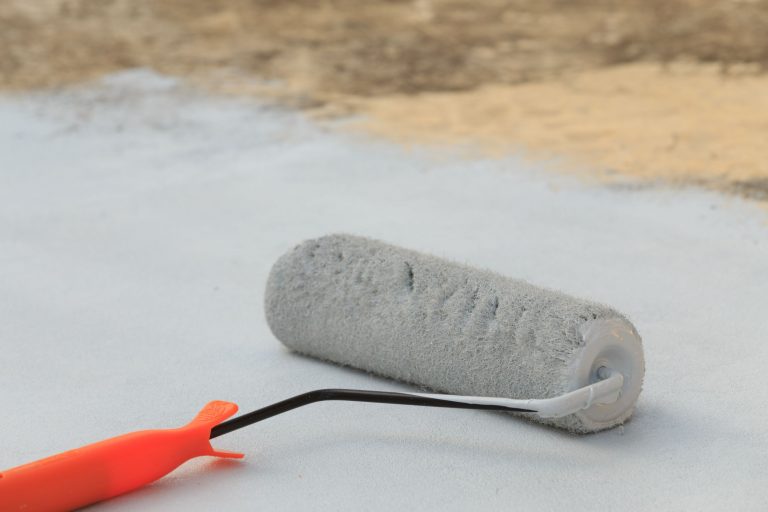
A key component of home décor that really improves the whole look of a space is painting trim and moulding. Key embellishments, framing windows, doors, and walls these architectural details that help to provide a polished and unified appearance. Proper painting will allow trim and molding to offer character and appeal, therefore enhancing the design and elegance of any area. One cannot stress the value of good technique; professional finish and neat, sharp lines turn the average into the spectacular. Painting with great attention to detail guarantees that flaws are reduced and visual attractiveness is enhanced. Choosing appropriate finishes and colors may help accentuate the design of the area, therefore improving its mood. When done well, painted trim and molding may fit perfectly with the overall interior design, giving a space more roomy and maintained appearance. Purchasing premium trim painting not only enhances a house but also raises its worth and attractiveness.
Gather the Right Tools and Materials
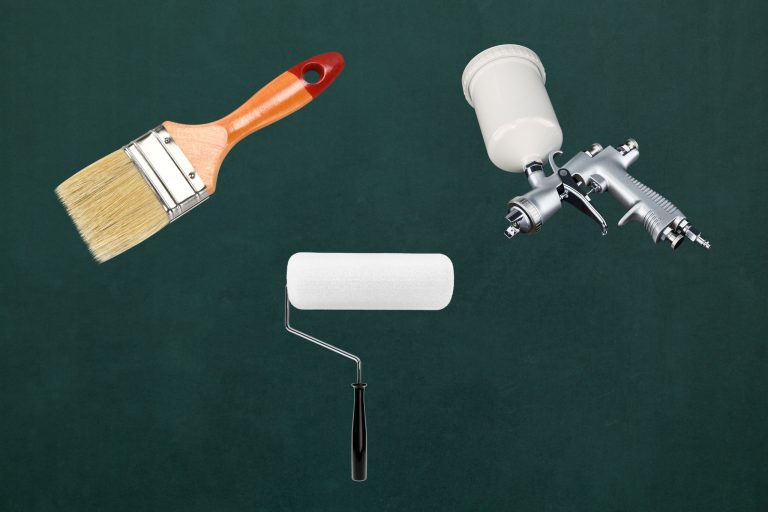
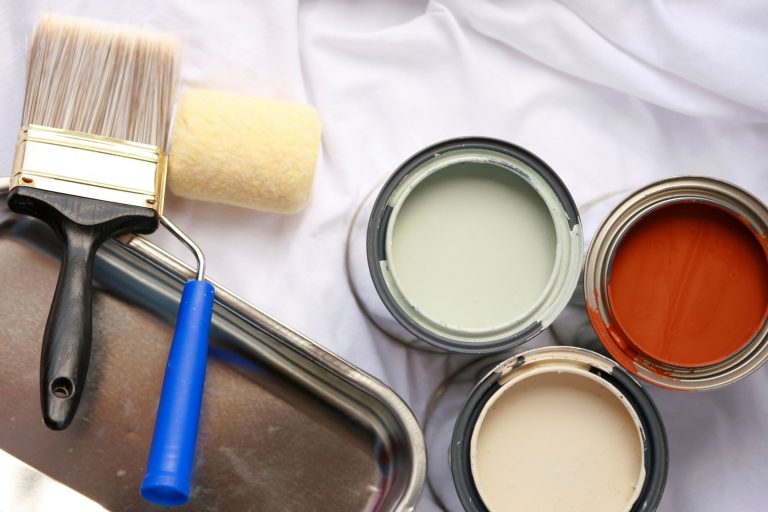
A project of professional quality in painting relies on having the right tools and materials together. Good brushes use angled or synthetic bristle designs to help avoid streaks via continuous application. Painter’s tape allows clean, tidy lines that serve to prevent paint from flowing onto surrounding surfaces. Drop cloths cover furniture and flooring, therefore maintaining the general cleanliness of the workstation and helping to stop unintentional spills.
Paint trays also help to load and unload paint, thereby improving the general work efficiency. Using trim-specific paint for trim projects can help to provide a more polished appearance as these paints are designed to adhere better and preserve durability on surfaces needing accuracy.
Investing in premium materials pays off with a beautiful, perfect finish that lasts longer and sticks better. Excellent tools also cut the need for many coatings, therefore saving time and labor. One creates the conditions for a successful, visually pleasant painting project by gathering the appropriate tools and well chosen materials.
Prep the Trim and Molding
Starting with a thorough cleaning will help one properly prepare the trim and molding. Dust, filth, and any collected oil over time may be wiped off a moist cloth or sponge. This cleaning guarantees the surface is ready for next treatment. After cleaning, run the trim and molding over fine-grit sandpaper. Sanding creates a roughness that enhances adhesion and smooths out any rough edges, therefore preparing the surface for paint. Emphasize flaws like dents or scratches to help to keep the surface uniform.
After you have sanded, closely inspect the trim for any holes or gaps. Good wood filler will cover these defects; distribute it evenly with a putty knife. Once the filler dries completely, gently sand the area one more to create a flat, smooth surface exactly matching the surrounding trim.
Paint adhesion depends on proper surface preparation as any remaining dust or uneven regions might cause bubbling or peeling in the finished result. Carefully cleaning, sanding, and filling flaws will help the trim and molding provide a great basis for a long-lasting, attractive paint job.
Protect the Surrounding Areas
A clean, professional finish depends on surrounding areas being protected throughout a painting process avoiding any mess. This procedure depends much on painter’s tape, which offers a consistent barrier shielding floors, trim, and walls from paint splatters, drips, and overspray. Applied properly, painter’s tape guarantees neat paint lines and shields surfaces from undesired color, therefore facilitating maintenance of a clean workstation.
Using drop cloths or plastic sheeting in addition to painter’s tape can help to further protect furniture and floor from paint damage. These protective coverings not only collect inadvertent spills but also provide a specific, orderly space for painting operations. This measure makes housekeeping easier, therefore enabling a more fun and stress-free environment. Effective protection of surrounding environments helps people to concentrate on their creative process free from concern about large-scale cleanup following.
Investing time in appropriate protection measures finally results in better outcomes and less frustration, thereby supporting the need of starting any painting job by means of appropriate protection measures. For any painter, either amateur or professional, a clean workstation improves both output and the quality of the completed work, thereby justifying itself.
Apply the Paint
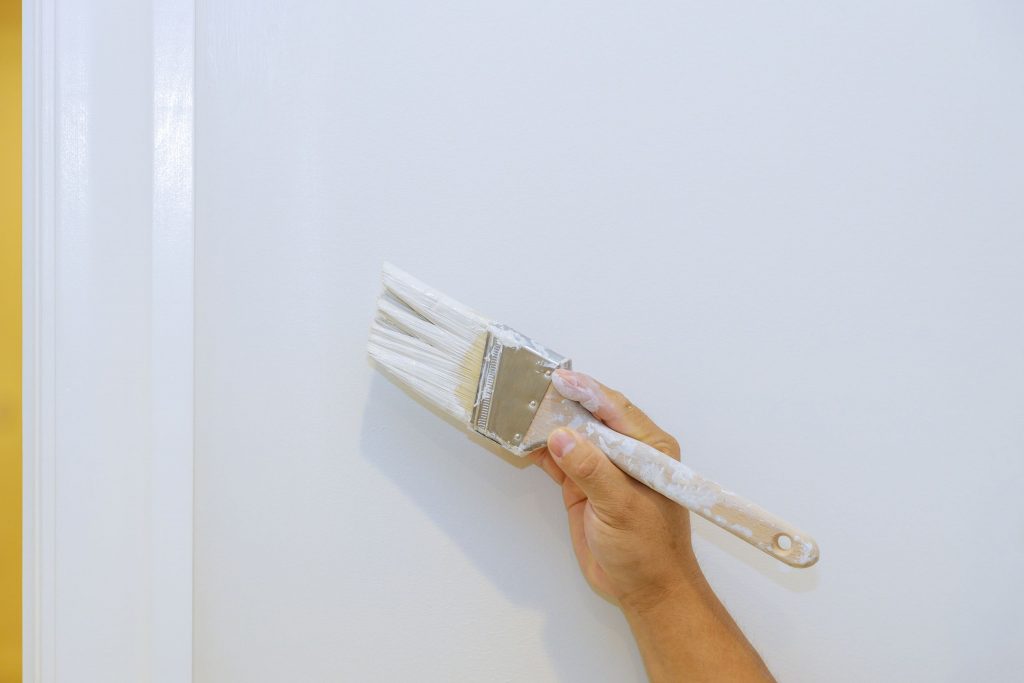
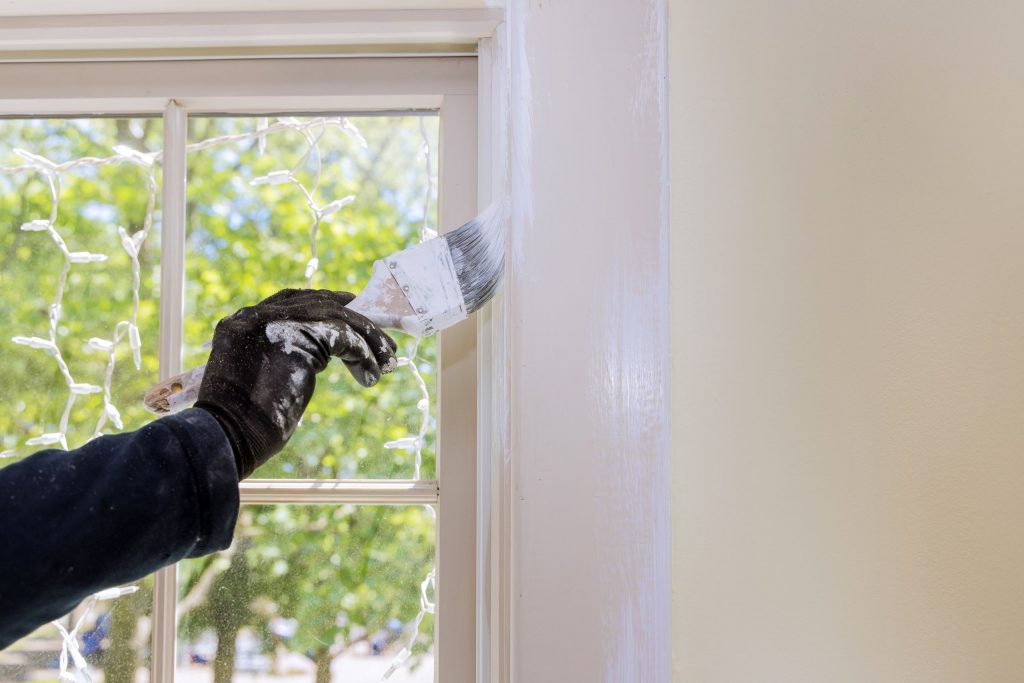
A clean and uniform finish on painted trim depends on long, smooth strokes applied consistently. This method guarantees a consistent coat by minimising brush marks. Working in parts and applying paint just in one direction will help to preserve uniformity.
Still another essential component are thin coatings. Thin coatings enable for better adherence and faster drying periods instead of heavy layers of paint, which could cause drips and unevenness. Without sacrificing the flawless finish, many thin coats create color and coverage.
Spending money on a good brush developed specifically for trim work really enhances the outcome. These brushes have superior control and their softer bristles assist to retain their shape. Their design ensures that the paint covers every corner without extra buildup and enables one negotiate difficult terrain precisely.
Apart from the visual advantages, correct equipment and procedures help to save the time spent on touch-ups, therefore producing a professional finish that improves the general look of the area. These rules help to make painting trim quick and satisfying.
Finishing Touches and Cleanup
Removing painter’s tape while the paint is still somewhat wet would help a painting job to produce crisp lines the finest. This method reduces the possibility of paint peeling or tearing when the tape is being taken away. To maintain control, carefully pull the tape at a 45-degree angle beginning from one end and working slowly. This technique guarantees a clean edge by letting any little paint bleed stay connected to the tape instead of clinging to the wall.
The direct after use cleanliness of cleaning brushes and instruments determines their lifespan. Paint dries on brushes might ruin the bristles and reduce their capacity for producing neat strokes. Rushing brushes through flowing water and soap maintains their shape, helps remove last traces of paint, and extends their lives. In the same line, right after use cleaning trays and rollers helps to prevent paint from setting, thereby easing cleanup and ensuring preparation for following operations. Giving these final touches and suitable cleaning high importance enables one to keep a professional level and maximize the performance of their painting equipment.
Conclusion
One has to follow many important measures to get a professional-looking trim and molding paint job. Start by organizing the workstation such that simple mobility is possible by keeping the area clear of furnishings. For a smooth surface, therefore, gently remove any old paint or finish from the trim. A quality wood filler should cover any flaws or gaps; sanding the area will assist to provide a perfect finish. Once ready, use a primer to increase paint adhesiveness and durability. While painting, use high-quality brushes or rollers; apply the paint in even strokes to achieve glossiness. For best coverage, many thin coats might be required; thus, enough drying time between applications is important. At last, tidy the area and check the work for any touch-ups to complete the project. Readers are urged to study more on “painting techniques and tips” in an educational blog, thus developing a deeper knowledge of this fulfilling hobby, and to take their time for enduring, beautiful outcomes.

